In this foundational guide, we’ll explore the basics of JetEngine, setting the stage for more complex and comprehensive features in future tutorials.
1. Introduction to Custom Post Types
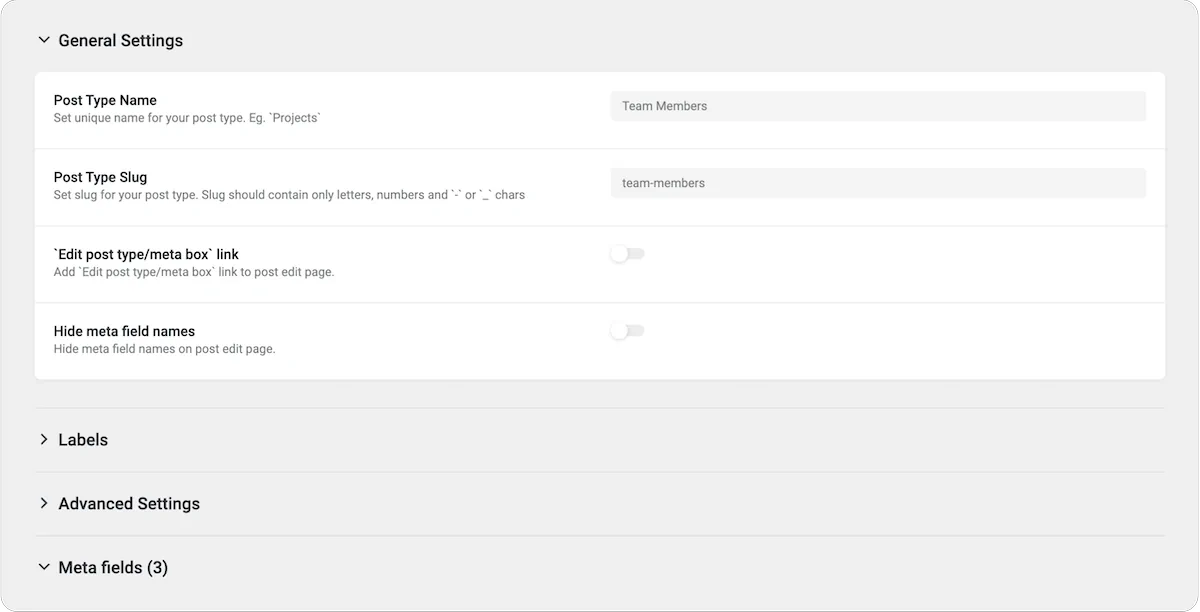
Custom post types are at the heart of JetEngine’s power. They allow you to create and manage unique content types beyond the default posts and pages. For instance, if you’re building a website with a team section, you can create a custom post type for team members, enabling a more structured and diverse content organization.
2. Meta Fields
Meta fields are custom fields that attach additional information to posts, pages, or custom post types. With JetEngine, you can enrich your content with extra details like text, dates, images, and more. These fields are crucial for adding specific information to your custom post types, such as job titles or bio information for team members.
3. Taxonomies
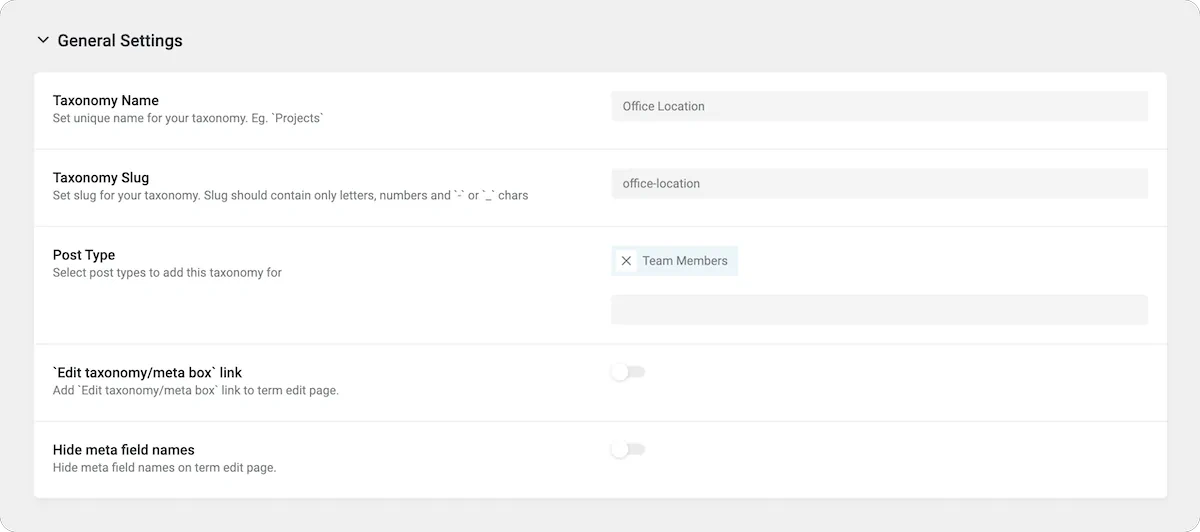
Custom taxonomies in JetEngine help you group and classify your content. Similar to categories and tags but customizable to fit your website’s specific needs, taxonomies can organize your content in a way that makes sense for your site’s structure.
4. Glossaries
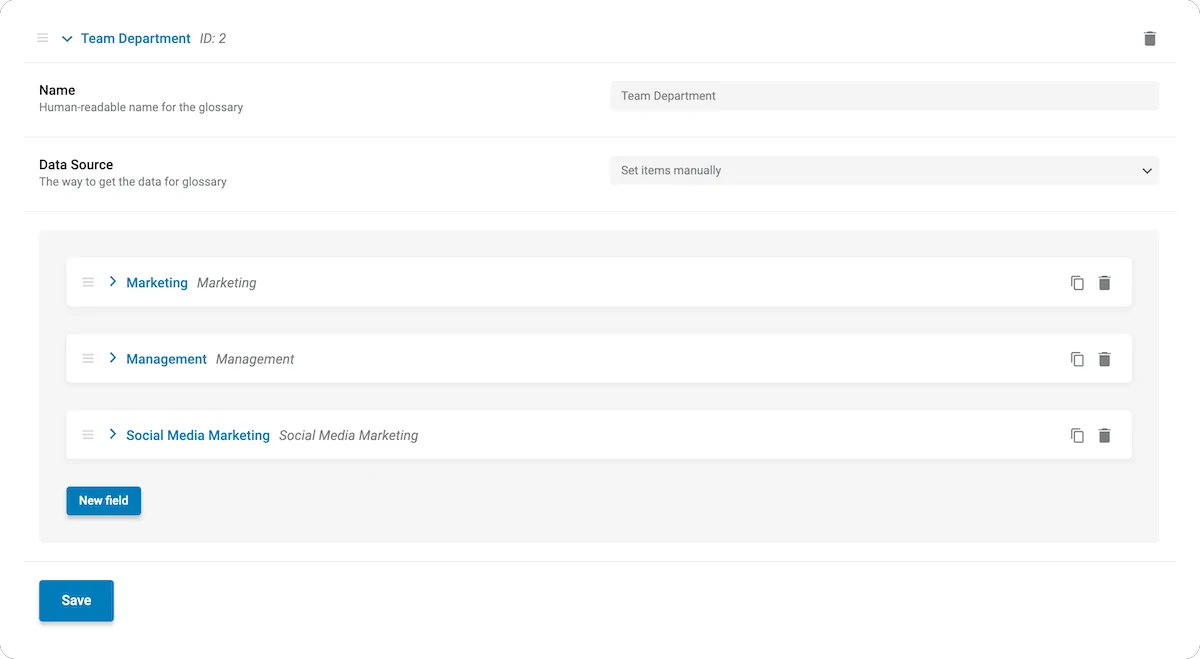
Glossaries in JetEngine define predefined sets of options for custom fields, ensuring consistent data input. This feature is useful for avoiding spelling mistakes and ensuring data consistency across your website.
5. Outputting Custom Data
After setting up custom post types, meta fields, taxonomies, and glossaries, the next step is to output all this new data on your WordPress site. This can be achieved through various methods, including using page builders like Bricks Builder, Elementor, or even the default Gutenberg editor to display your custom content dynamically.
For this guide, I’ll focus on Bricks Builder, but you can easily use alternative tools.
Step-by-Step Guide
Creating Custom Post Types
- Navigate to JetEngine in your WordPress dashboard.
- Click on “Post Types” and then “Add New.”
- Fill out the form, providing a name and slug for your post type.
- Configure the label settings, advanced settings, and support options as needed.
- Add custom meta fields to enrich your post type with additional information.
- Set admin columns for easy management and overview in the dashboard.
Setting Up Taxonomies
- Go to JetEngine > Taxonomies and click “Add New.”
- Provide a name and associate the taxonomy with your custom post type.
- Configure labels and advanced settings, and optionally add meta fields to your taxonomy.
Utilizing Glossaries
- Access glossaries through JetEngine in the dashboard.
- Create a new glossary and manually add options or upload a predefined set.
- Use these glossaries in your custom post types for consistent and error-free data entry.
Displaying Custom Data
- Use a page builder or the Gutenberg editor to create a layout displaying custom content.
- Utilize dynamic data sources to gather information from your custom post types, meta fields, and taxonomies.
- Customize the appearance and structure of your content as needed.
Conclusion
JetEngine is a powerful tool for anyone looking to extend the functionality of their WordPress site with custom content types, fields, and taxonomies. By following this foundational guide, you’ll be well on your way to creating a more unique and structured website.
As you become more comfortable with these basics, you’ll be ready to explore the more advanced features JetEngine offers. Stay tuned for future tutorials where we’ll dive deeper into the capabilities of this versatile plugin.

