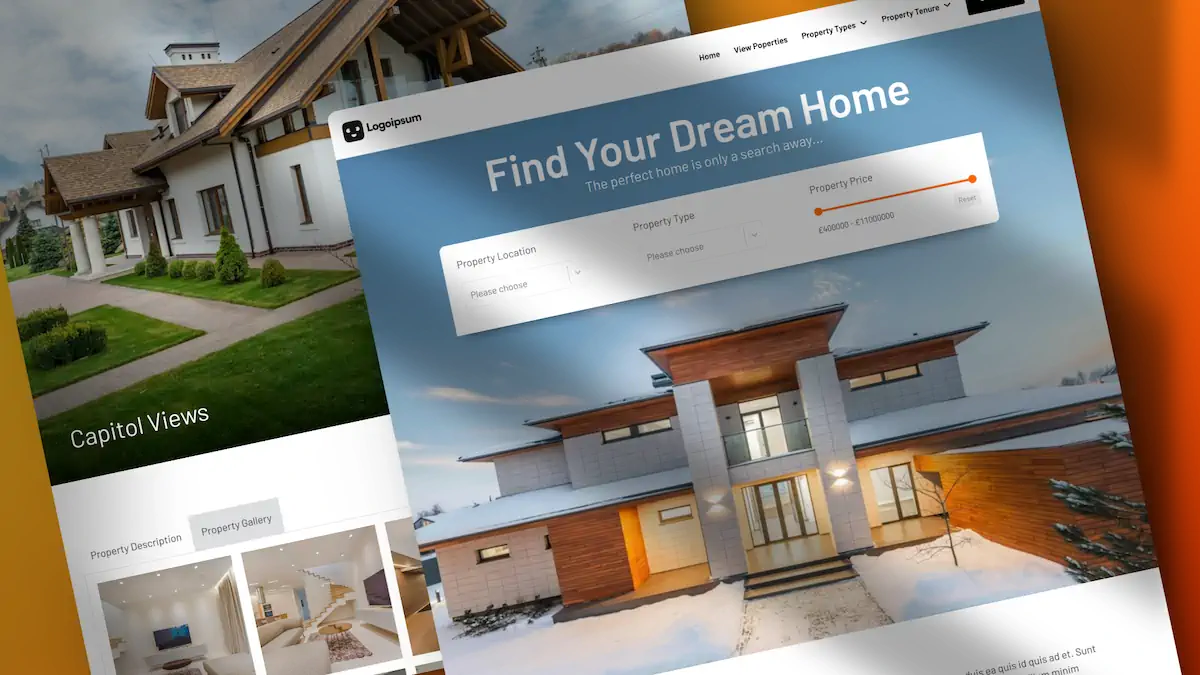
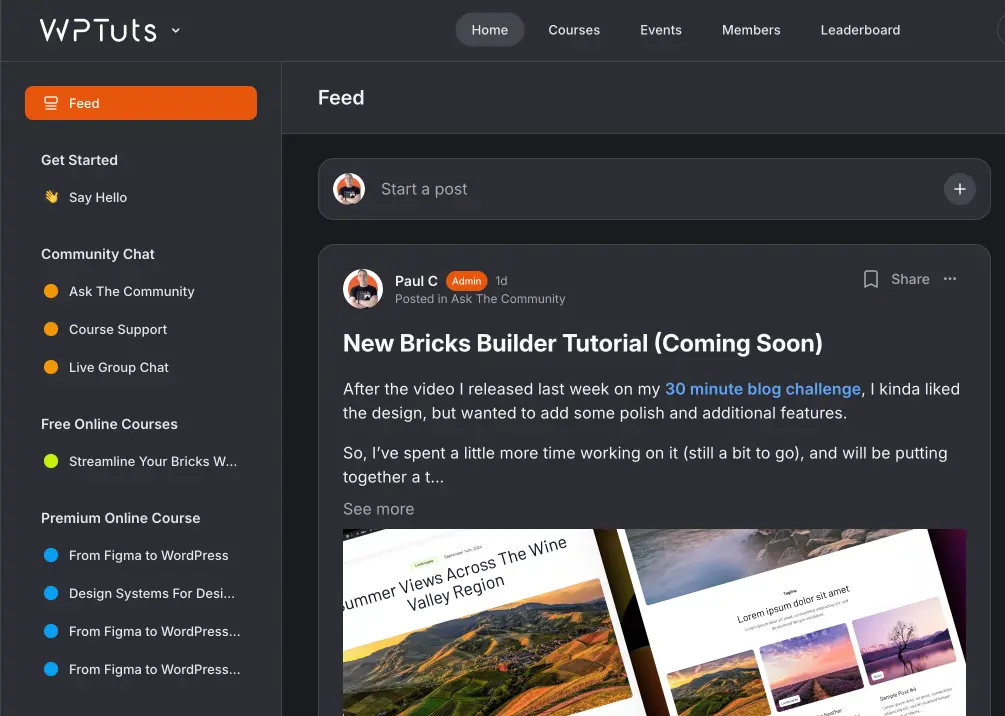
Let’s explore this concept by creating an example page using Bricks Builder. This page will showcase the versatility and power of dynamic data in WordPress.
What is Dynamic Data?
Dynamic data is information retrieved from your database, including images, post titles, authors, dates, and excerpts. It is then dynamically displayed on your web pages.
For example, on our sample page, we will display a post loop with a featured image, a title, the author, the posting date, and an excerpt—all of which are dynamic data elements.
Setting Up Bricks Builder for Dynamic Data
Before diving into dynamic data, we need to configure Bricks Builder. Here’s how:
- Access Bricks Settings: Go to your WordPress dashboard, navigate to Bricks, and then Settings.
- Enable Dynamic Data: Under the Builder tab, scroll down to the Dynamic Data section. Ensure that “Render dynamic data text on canvas” and “Show dynamic data key in drop-down” are enabled. Save changes.
Creating a Template
In this example, we’ll create an archive template to display posts:
- Add a New Template: Go to Templates and add a new one, naming it “Casual Archive.”
- Set Template Type: Set the template type to “Archive” and publish it.
- Edit with Bricks: Click to edit the template with Bricks.
Configuring the Template
We need to set conditions and content for our template:
- Template Settings: Open the template settings and add a condition to use this template for all archives.
- Content Type: Choose the content type as “Archive Posts” and the post type as “Posts.” Apply the preview.
Building the Layout
Now, let’s build our layout:
- Add a Section: Insert a section with a container.
- Add Dynamic Data Elements: Start with a block for the individual card design. Using dynamic data, add elements like the featured image, post title, author, and date.
Creating a Query Loop
To display multiple posts, we create a query loop:
- Use Query Loop: Select your block, enable “Use Query Loop,” and configure the query.
- Set Query Parameters: Choose the post type as “Posts,” order by published date, and set the number of posts per page.
Styling and Customizing
Customize the appearance:
- Set Grid Layout: Configure your container to use a grid layout.
- Adjust Image Aspect Ratio: Ensure all images have a uniform aspect ratio.
- Add and Style Text Elements: Insert and style text elements like post titles and excerpts.
Adding Filters
Enhance the user experience by adding filters:
- Enable Filters: Go to Bricks settings and enable “Query Filters Experimental.”
- Add Filter Element: Insert a filter element like “Filter Radio” and configure it to target your post loop.
Conditional Logic
Show or hide elements based on user roles:
- Add Conditional Logic: Select an element, go to conditions, and set conditions based on user login status.
Conclusion
Working with dynamic data in WordPress using Bricks Builder empowers you, the WordPress developer, to easily create dynamic, data-driven websites. From setting up query loops to adding filters and conditional logic, Bricks Builder equips you with the tools you need to build sophisticated web pages.

