Why Filter Posts by Logged-In User?
This functionality is handy for creating personalised dashboards or front-end interfaces where users can manage their own content. For example:
- A real estate site where agents can only see their own property listings.
- A blogging platform where users can manage their own posts.
- Any scenario where user-specific content visibility is required.
Prerequisites
Before we begin, ensure you have the following:
- Bricks Builder installed and activated.
- A basic understanding of WordPress custom post types (if applicable).
- Administrator access to your WordPress site.
Step 1: Enable Code Execution in Bricks Builder
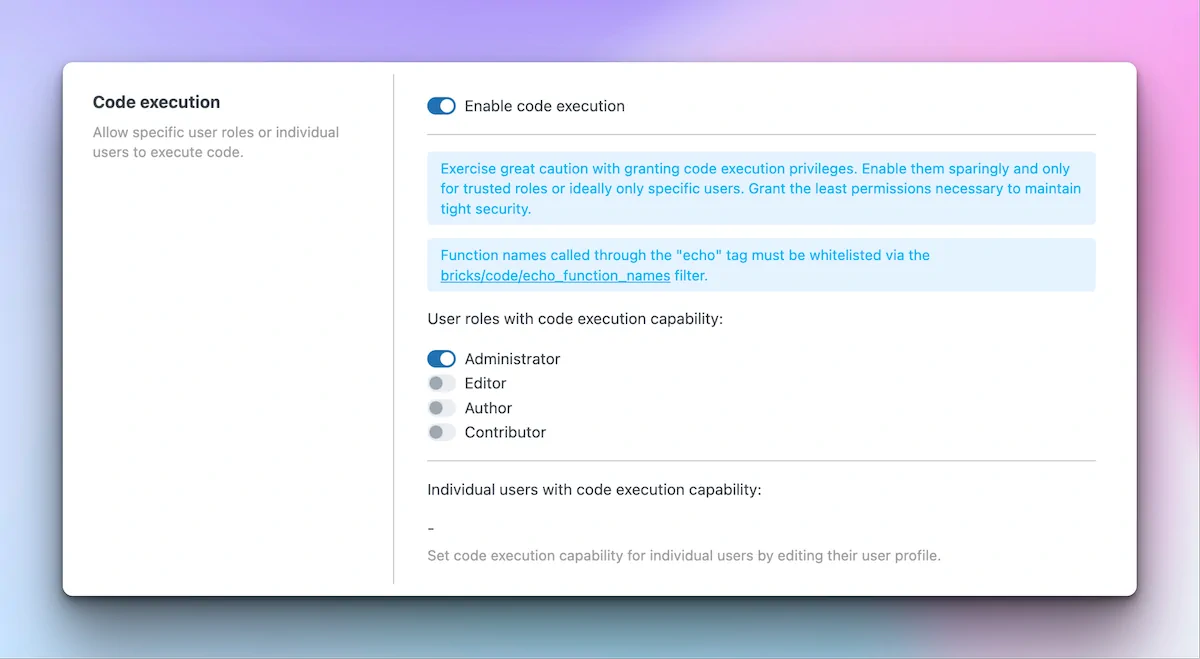
To use custom PHP in Bricks Builder, you need to enable code execution. Here’s how:
- Navigate to Bricks > Settings in your WordPress dashboard.
- Go to the Custom Code tab.
- Enable the Code Execution option and restrict it to administrators (or a specific user if needed).
- Click Save Settings.
This step is crucial as it unlocks the ability to add custom PHP code directly within Bricks Builder.

Step 2: Set Up Your Template
Next, create or edit the template where you want to display the filtered posts.
- Open your template in Bricks Builder.
- Ensure you have a Loop added to display your posts.
Step 3: Customise the Query with PHP
Now, let’s modify the query to filter posts by the logged-in user.
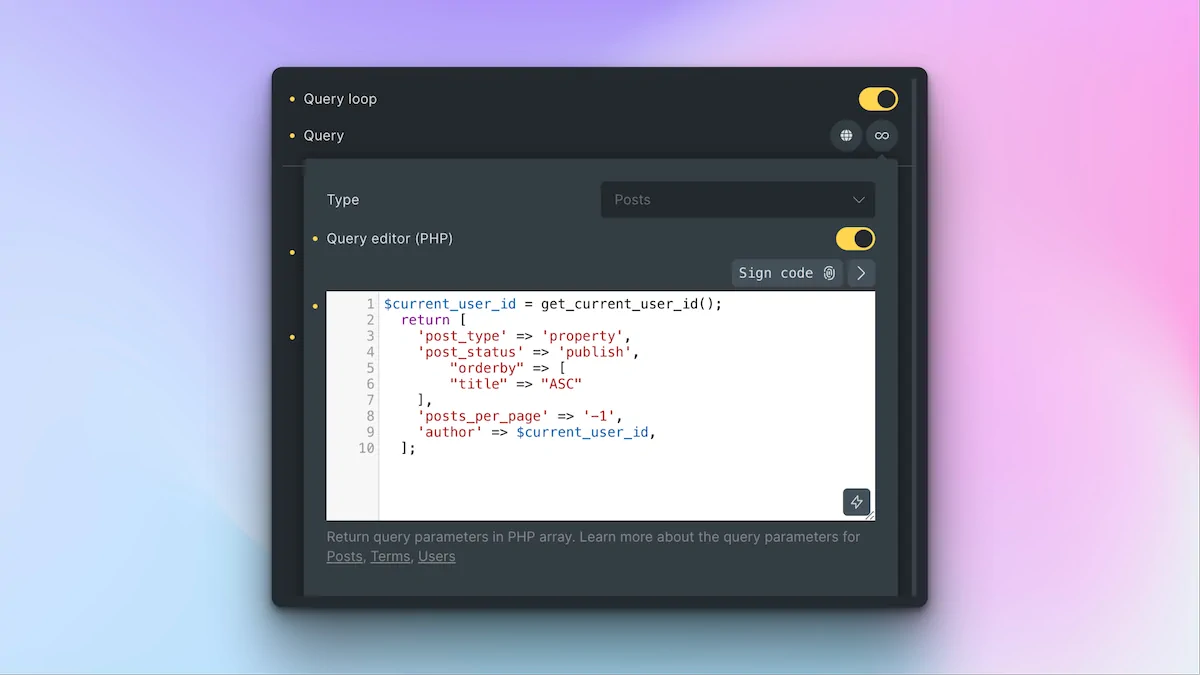
- Select the Query function in your template.
- Open the Query Options panel.
- Enable the Query Editor (PHP) option. This allows you to override the default query with custom PHP.

Step 4: Add the Custom PHP Code
Here’s the PHP code you’ll use:
$current_user_id = get_current_user_id();
  return [
    'post_type' => 'property',
    'post_status' => 'publish',
        "orderby" => [
        "title" => "ASC"
    ],
    'posts_per_page' => '-1',
    'author' => $current_user_id,
  ];
Key Points:
$current_user_id: This is a custom variable that holds the ID of the logged-in user.post_type: Replace'property'with your custom post type slug or'post'for standard WordPress posts.posts_per_page: Set the number of posts to display. Use-1to show all posts.author: This ensures only posts created by the logged-in user are displayed.
If you need help with your custom post type slug, tools like Advanced Custom Fields (ACF) can help you identify it.
- Paste the code into the Query Editor.
- Click Sign Code to validate the PHP. This step ensures the code is secure and ready to execute.
- Save your changes.
Step 5: Test the Functionality
To confirm everything is working as expected:
- Save your template and view it on the front end.
- Log in as a user who has created posts.
- Verify that only the posts associated with the logged-in user are displayed.
For additional testing:
- Use a plugin like User Switching to switch between users and check the filtered results quickly.
Example in Action
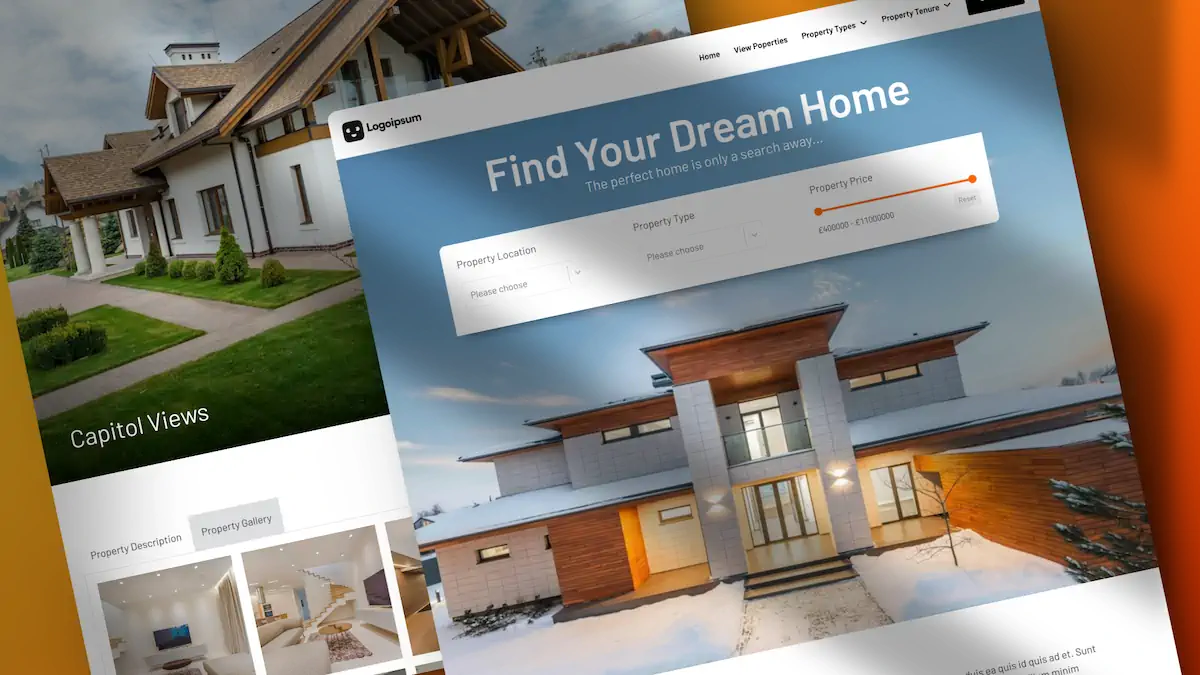
Let’s say you’re building a real estate site. When an agent logs in, they’ll only see their own property listings. If another agent logs in, they’ll see a completely different set of properties, ensuring each user’s personalised and secure experience.
Customisation Options
You can further customise the query to suit your needs:
- Post Status: Change
'publish'to'draft'or'pending'if needed. - Order By: Use
'date','ID', or other fields to sort posts. - Posts Per Page: Adjust the number of posts displayed per page.
Troubleshooting
If the filtered posts aren’t displaying as expected:
- Double-check the custom post type slug in the PHP code.
- Ensure the logged-in user has created posts or custom post types.
- Verify that code execution is enabled in Bricks Builder settings.
Conclusion
With just a few steps and a small snippet of PHP, you can create a dynamic, user-specific post display in WordPress using Bricks Builder. This is perfect for building personalised dashboards or front-end interfaces.

