In this tutorial, I’ll show you how to create a custom WooCommerce dashboard using Bricks Builder. However, you can apply the same concepts using Elementor, Gutenberg, or any other page builder you prefer.
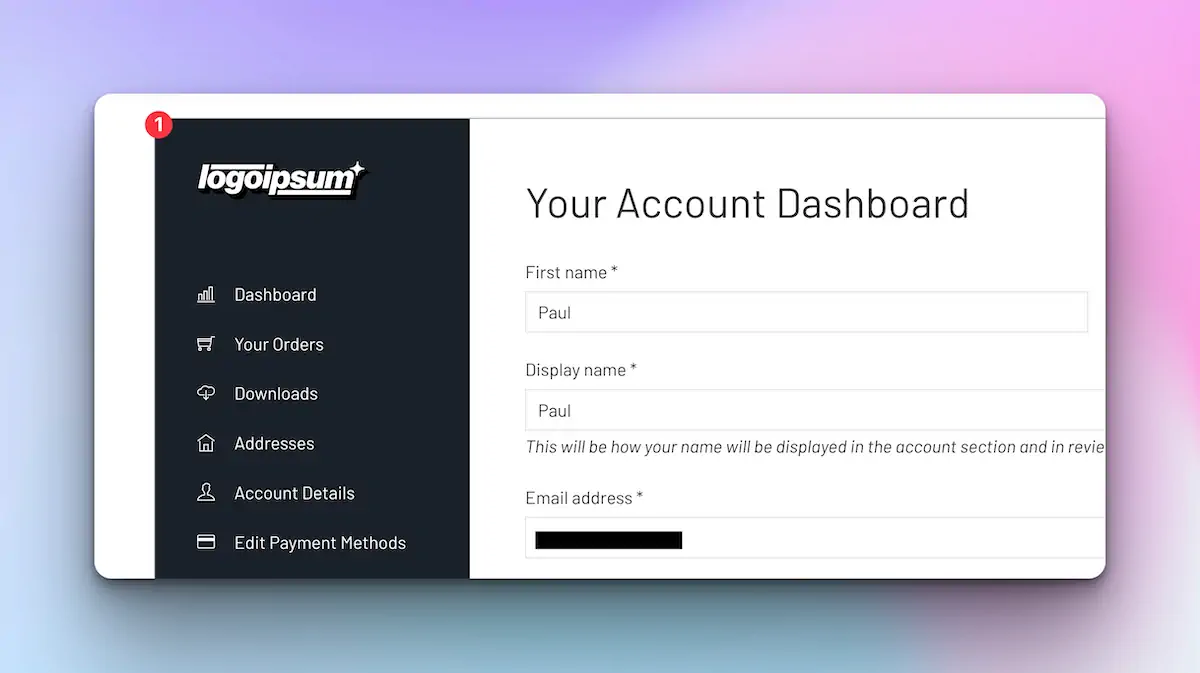
Step 1: Build the Basic Structure
- Create a New Section: Add a new section to your page with a container inside it.
- Insert Blocks: Add two blocks inside the container for the left (navigation) and right (content) sections.
- Set Horizontal Layout: Select the container and set its layout to horizontal.
- Define Widths: Assign a minimum width of 30% to the left and 70% to the right blocks.
- Adjust Heights: Set the minimum height for the section, container, and left block to 100VH (viewport height) to ensure they fill the screen. You could also use DVH or SVH for better control – View my beginner’s guide for more information.
- Add Background Colour: Apply a background colour to the left block.
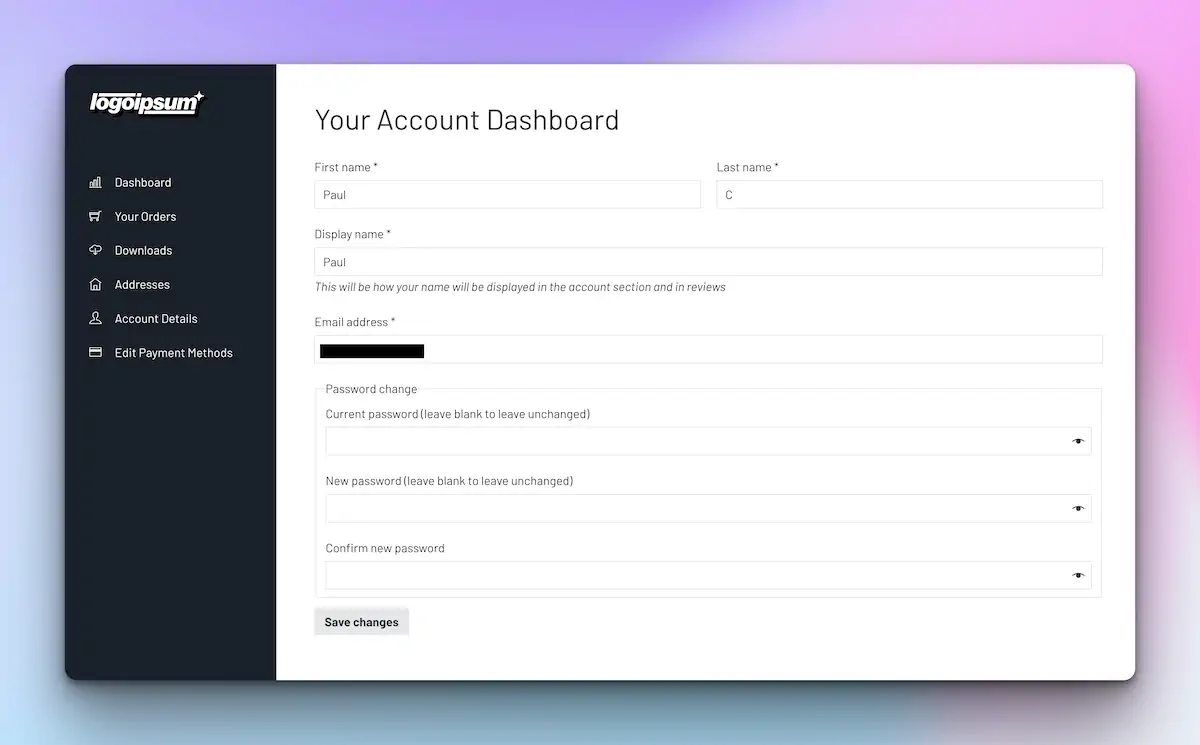
Step 2: Create Navigation
- Insert an Icon List: Add an icon list to the left block.
- Customize Icons and Labels: Change icons and labels to reflect the different sections of your dashboard (e.g., Dashboard, Orders, Downloads).
- Set Hover States: Define hover states for the icons for better user interaction.
- Add Spacing: Apply padding to the left block for a cleaner look.
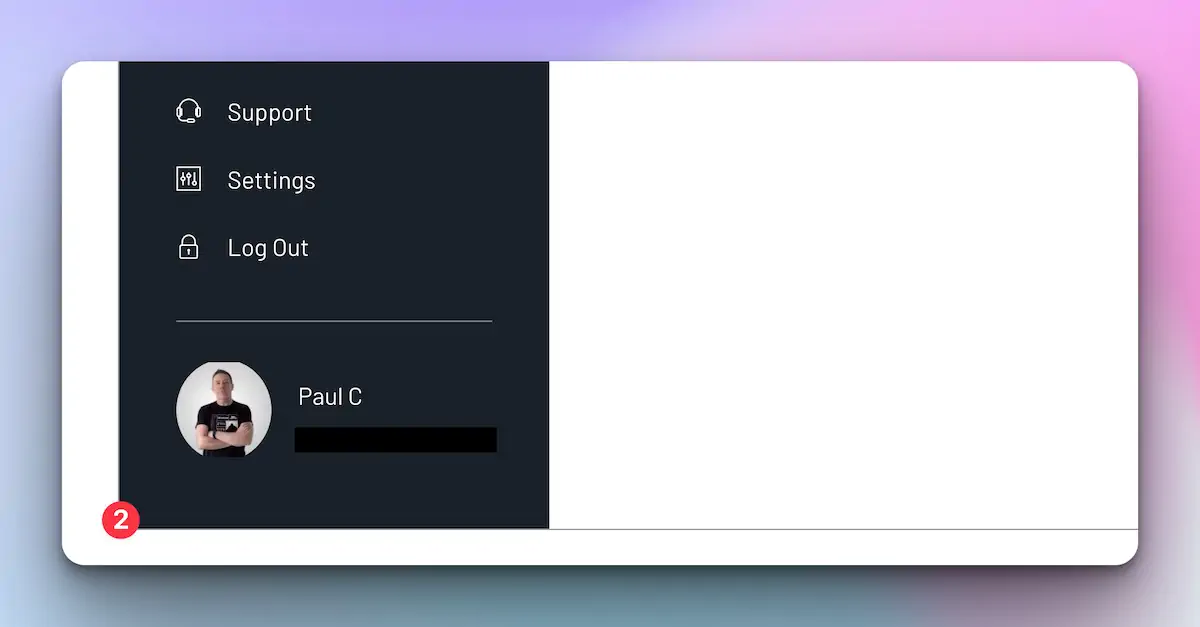
- Name Your Blocks: Rename your blocks for easier identification (e.g., main nav block, support block).
Step 3: Add User Information
- Add a New Block: Create a new block at the bottom of the navigation for user information.
- Insert User Avatar: Use a dynamic tag to insert the user’s profile picture.
- Add User Name and Email: Use dynamic tags to display the user’s first name, last name, and email.
- Style Accordingly: Adjust the styles to match your branding.
Step 4: Configure WooCommerce Endpoints
- Set Up Navigation Links: Use external URLs to link each navigation item to the corresponding WooCommerce endpoint (e.g., /my-account/orders/). Here is a full list of the WooCommerce End Points you’ll need.
- Hide Default Navigation: If using Bricks Builder, hide the default WooCommerce navigation with additional CSS (see below). Alternatively, you can add the following code block to the functions.php file of your child theme or use a code snippet plugin like Code Snippets or WPCodeBox. Code courtesy of Alan Blair from WPEasy (cheers, buddy!)
PHP
function remove_woocommerce_my_account_navigation() {
remove_action( 'woocommerce_account_navigation', 'woocommerce_account_navigation' );
}
add_action( 'init', 'remove_woocommerce_my_account_navigation' );
Or use the CSS method.
CSS
.woocommerce-MyAccount-navigation {
	display:none;
}
Step 5: Set Up Custom Pages
- Duplicate the Template: Copy your custom dashboard template for additional pages like Support.
- Add Custom Content: Insert an accordion for FAQs and a contact form for support queries.
- Link to New Page: Update the navigation link to your new custom support page.
Step 6: Finalize and Test
- Update WooCommerce Settings: Ensure WooCommerce is set to use your custom My Account page.
- Test All Links: Review each navigation item to confirm they lead to the correct sections.
- Log Out: Make sure the log-out link functions correctly.
Conclusion
With these steps, you can create a custom WooCommerce dashboard that enhances the user experience and reinforces your brand identity. Remember, you can tailor the design to your liking and extend the functionality as needed.

